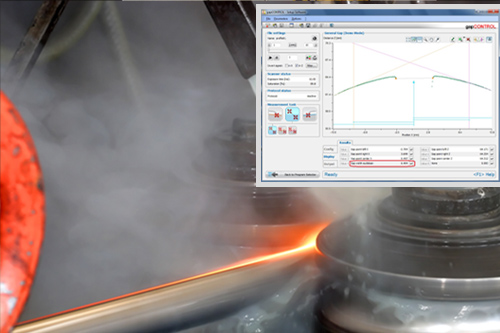
Gap measurement in forming lines
Before welding pipes, the gap is monitored with laser scanners. The scanners provide precise readings, allowing the position of the center point to be output. In this way, the pipe is brought into the optimum position relative to the welding head. Thanks to the high profile frequency of the scanner, dynamic processes can also be monitored.
