3D snapshot sensor for surface inspection of large objects
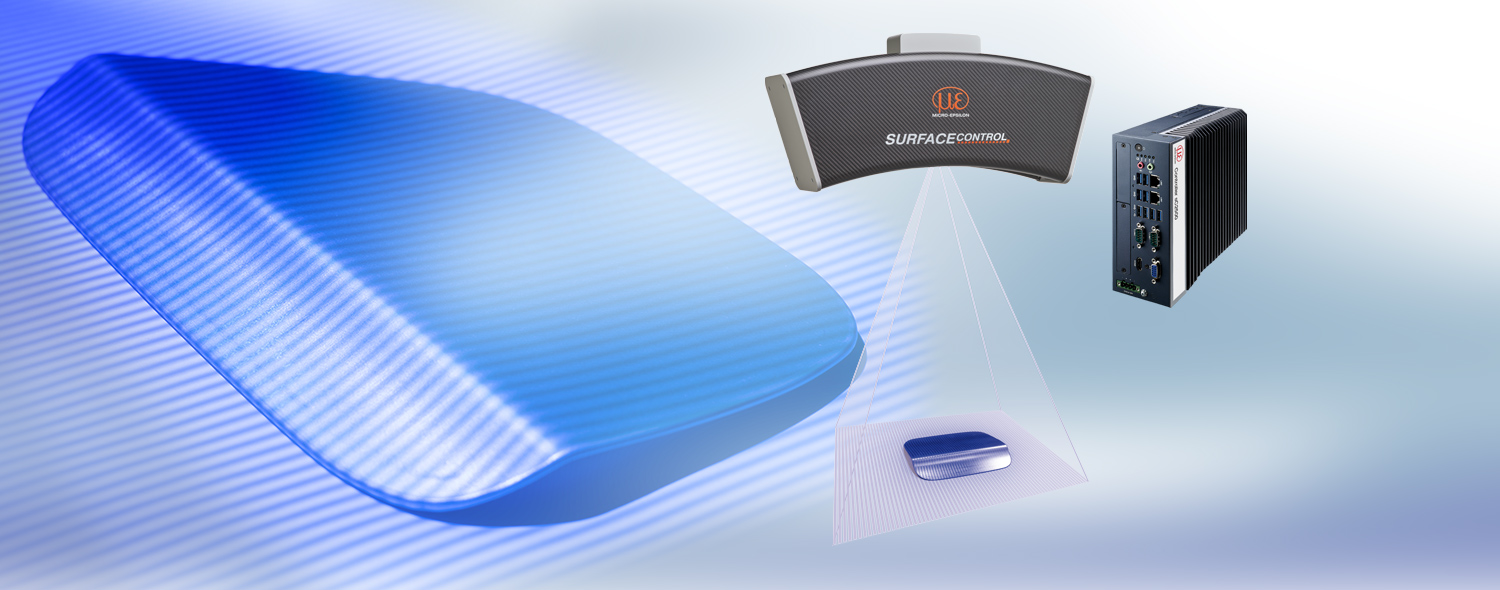
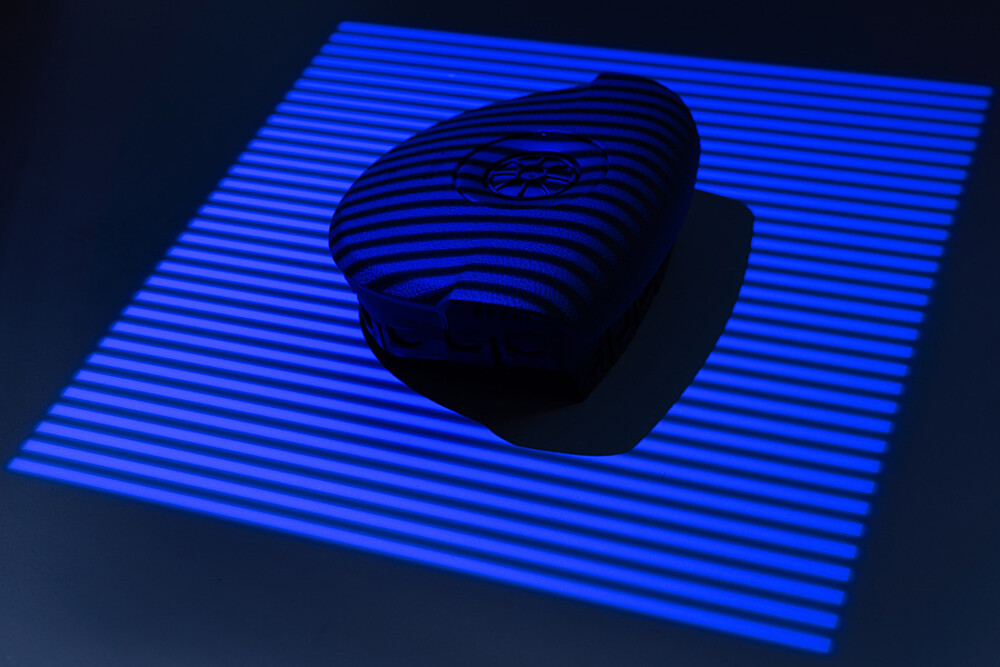
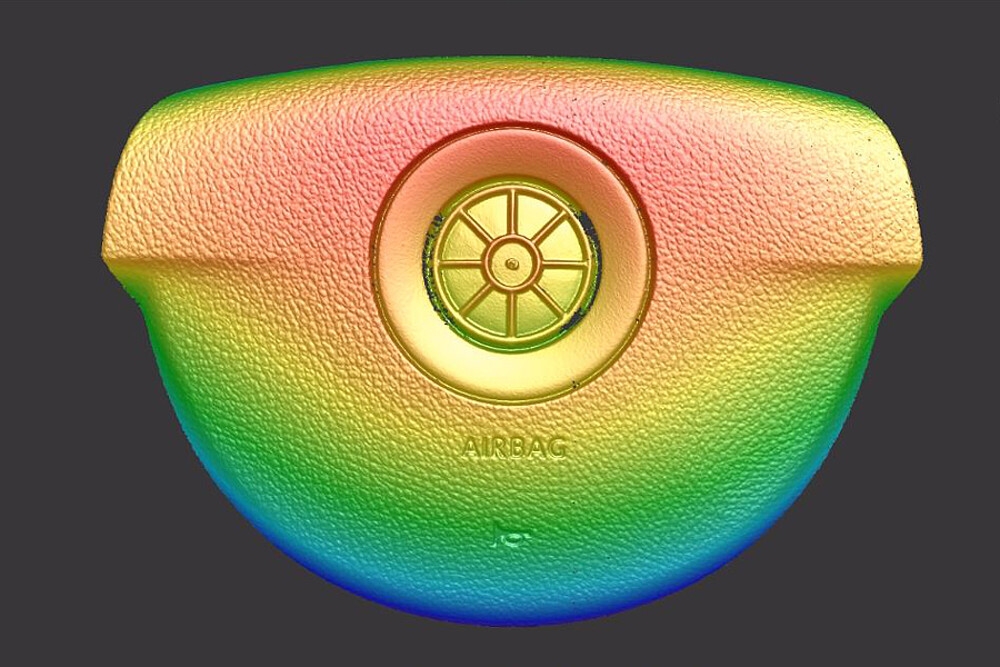
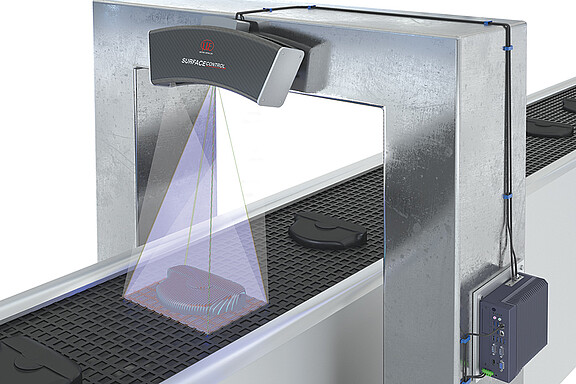
The surfaceCONTROL 3D 2500 snapshot sensor is used in 3D measurements for geometry, shape and surface inspection on diffuse reflecting surfaces. The sensor can be used in both automated in-line and at-line inspections as well as in the metrology room. The fringe light projection allows direct 3D measurement. The sensor is characterized by its large measuring field as well as a high measuring range depth of up to 300 mm with a repeatability of up to 3.0 µm. The captured images are transferred to the external controller where they are processed into 3D data. Three models cover different measuring fields.

Characteristics
- Large objects max. 650 x 495 mm
- High measuring range depth up to 300 mm
- Acquisition time from 0.5 s
- Highest precision up to 0.5 μm
- Digital interfaces (via controller 2500): GigE Vision/GenICam
- Digital interfaces (via 2D/3D gateway): Gigabit Ethernet (GigE Vision / GenICam) / USB2.0 / PROFINET / EtherCAT / EtherNet/IP
The new generation of 3D measurements
The SC2500 controller offers fast data output via the Gigabit Ethernet interfaces. The 2D/3D Gateway II supports EtherNet/IP, PROFINET and EtherCAT connections. 3DInspect, DefMap3D and InspectionTools are powerful software tools that enable precise 3D measurements and surface inspection. GigE Vision compatibility also allows easy integration into third-party image processing software. The comprehensive SDK for customer software integration rounds off the software package.
Application examples
- 3D inspection of geometry, shape detection and surface inspection
- Automation, production and process monitoring as well as quality control
- Non-contact measurement of diffuse reflective surfaces in the Stop and Go process
- Shape, position and surface inspection
